What are NFT Tickets?
NFT Tickets are similar to a piece of paper or a digital document that grants you access to certain places in real life. You can think of them as a movie ticket or a backstage pass.
In Learnoverse, you can use NFT Tickets to reach exclusive areas or premium courses in the same manner.
For premium courses, NFT Tickets provide an alternate payment method. Instructors can either accept payments in cash for their content or simply add NFTs as a payment method for students to enroll in their courses.
How to create NFT Tickets?
As an instructor, if you published a course or a learning path on our platform, you can create NFT Tickets and attach them to your material in a blink of an eye.
When you activate this feature, students will be able to enroll in your courses using the NFTs that you determine.
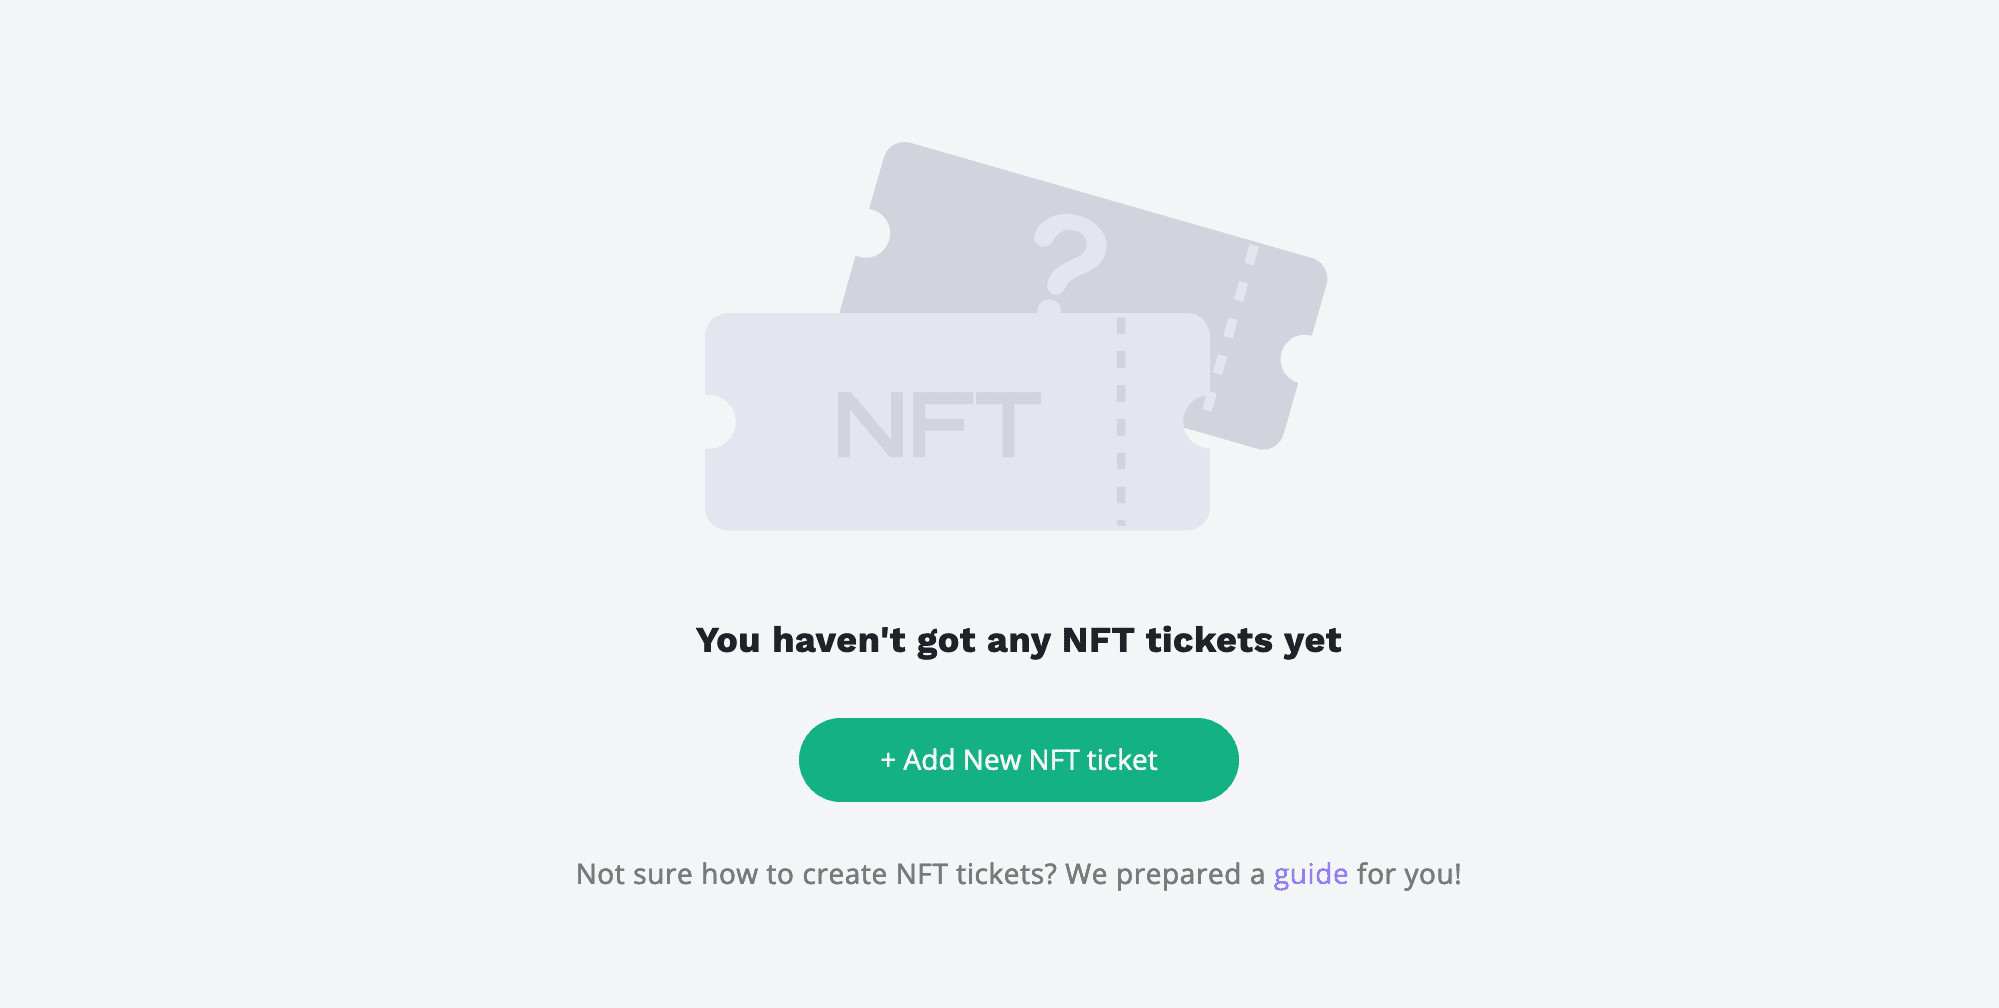
Step 1: Start creating your NFT Ticket.
Go to BitDegree Studio and click the “Add new NFT ticket” button.
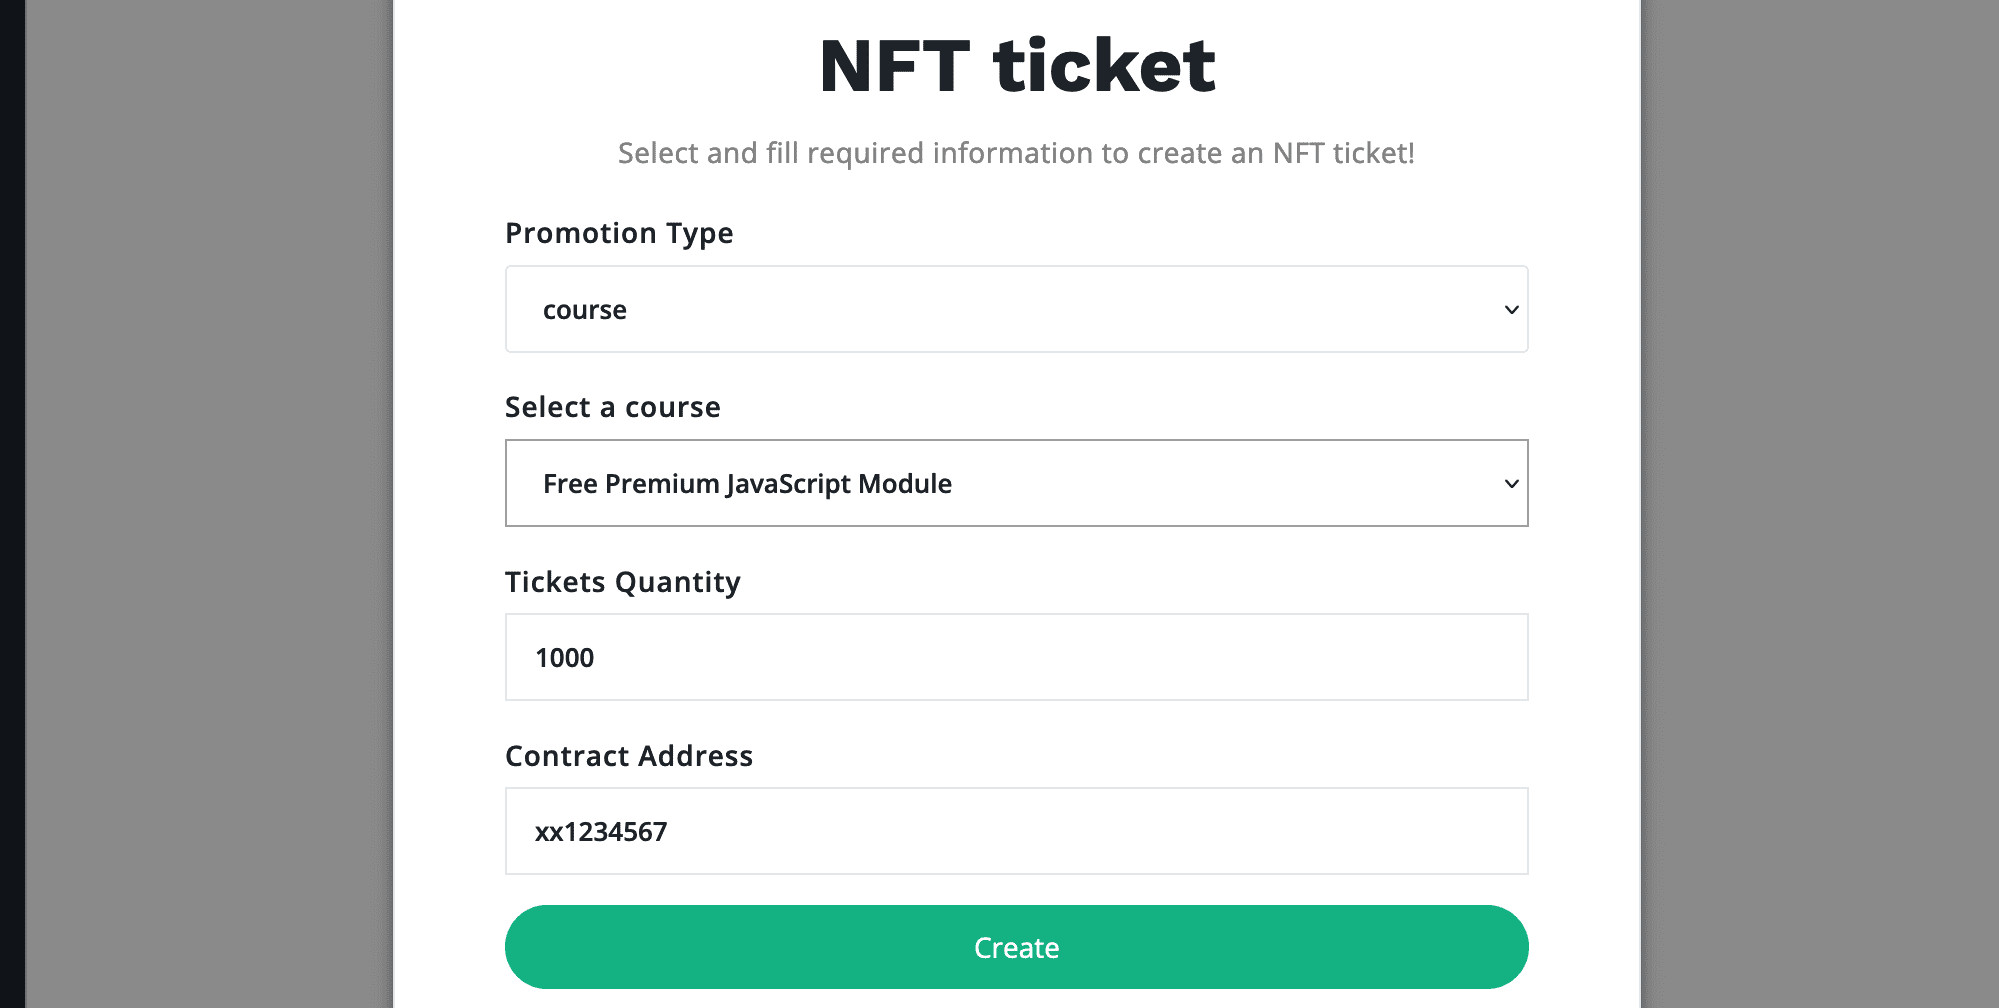
Step 2: Select the promotion type.
The promotion type can be either a course or a learning path.

Step 3: Fill in the details.
Select the specific course or a learning path you want to create an NFT Ticket for.
Then, set a ticket quantity. Ticket quantity determines the maximum number of people who will have an access to the course.
Lastly, type in the contract address. Keep in mind that only the students who have an NFT belonging to this contract address can use the NFT Ticket feature to enroll.
Once you are done with the details, press the “Create” button.
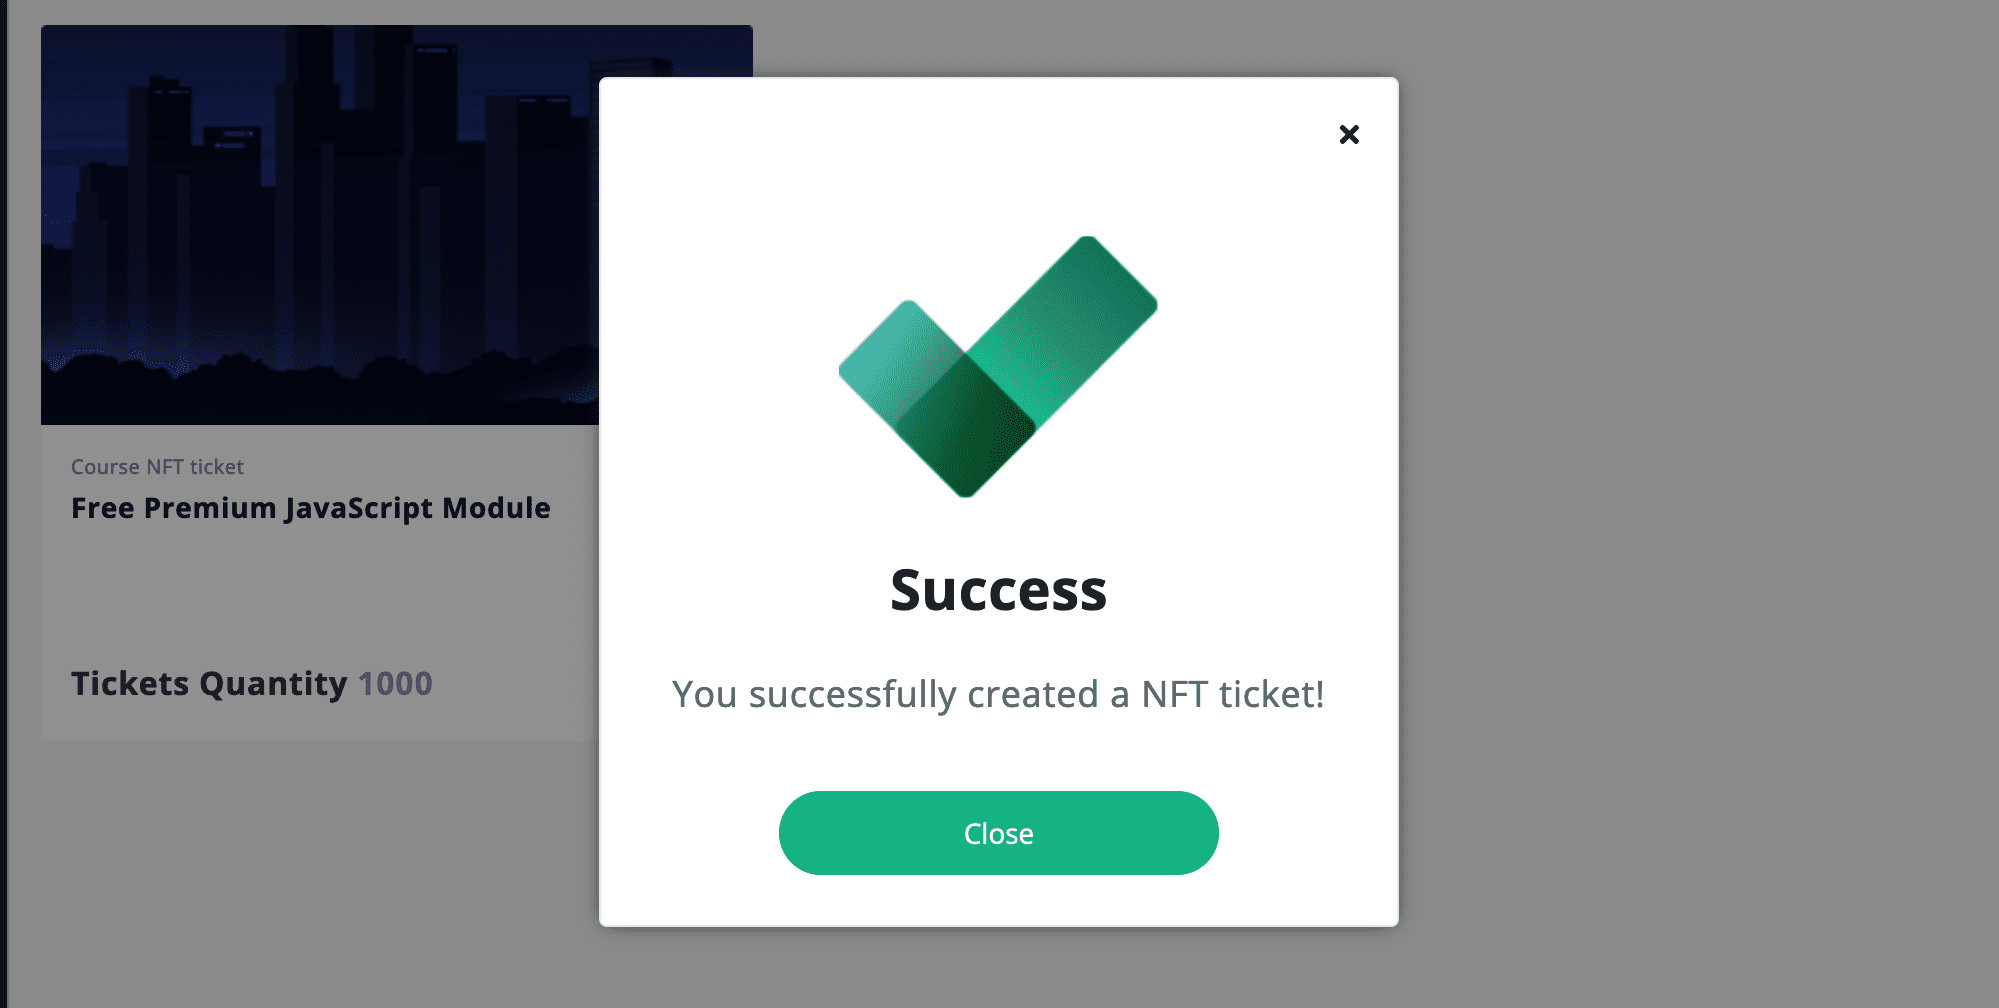
Step 4: Receive confirmation.
If everything is on track, there will be a pop-up confirming that you created your NFT Ticket successfully.
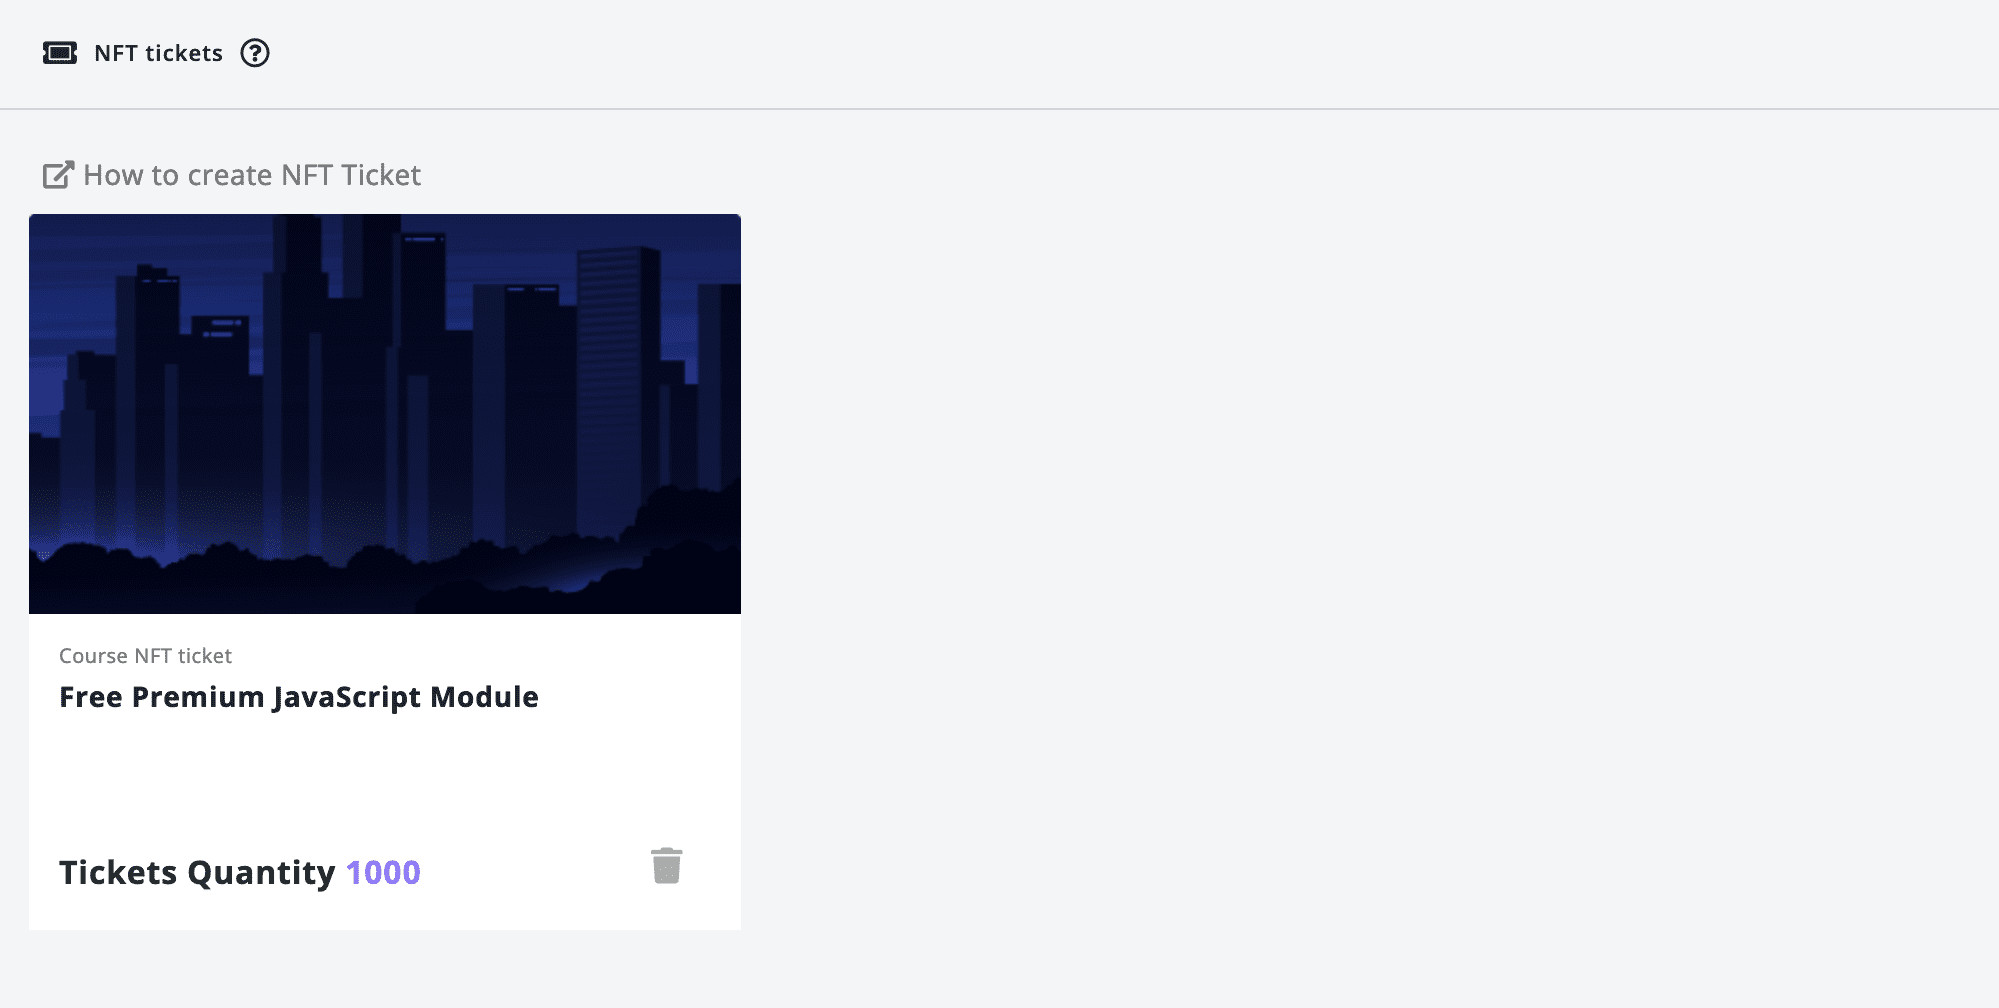
Step 5: Track your NFT Ticket.
On the same page that you created your NFT Ticket, you will be able to track the number of students who enrolled in your course using an NFT.
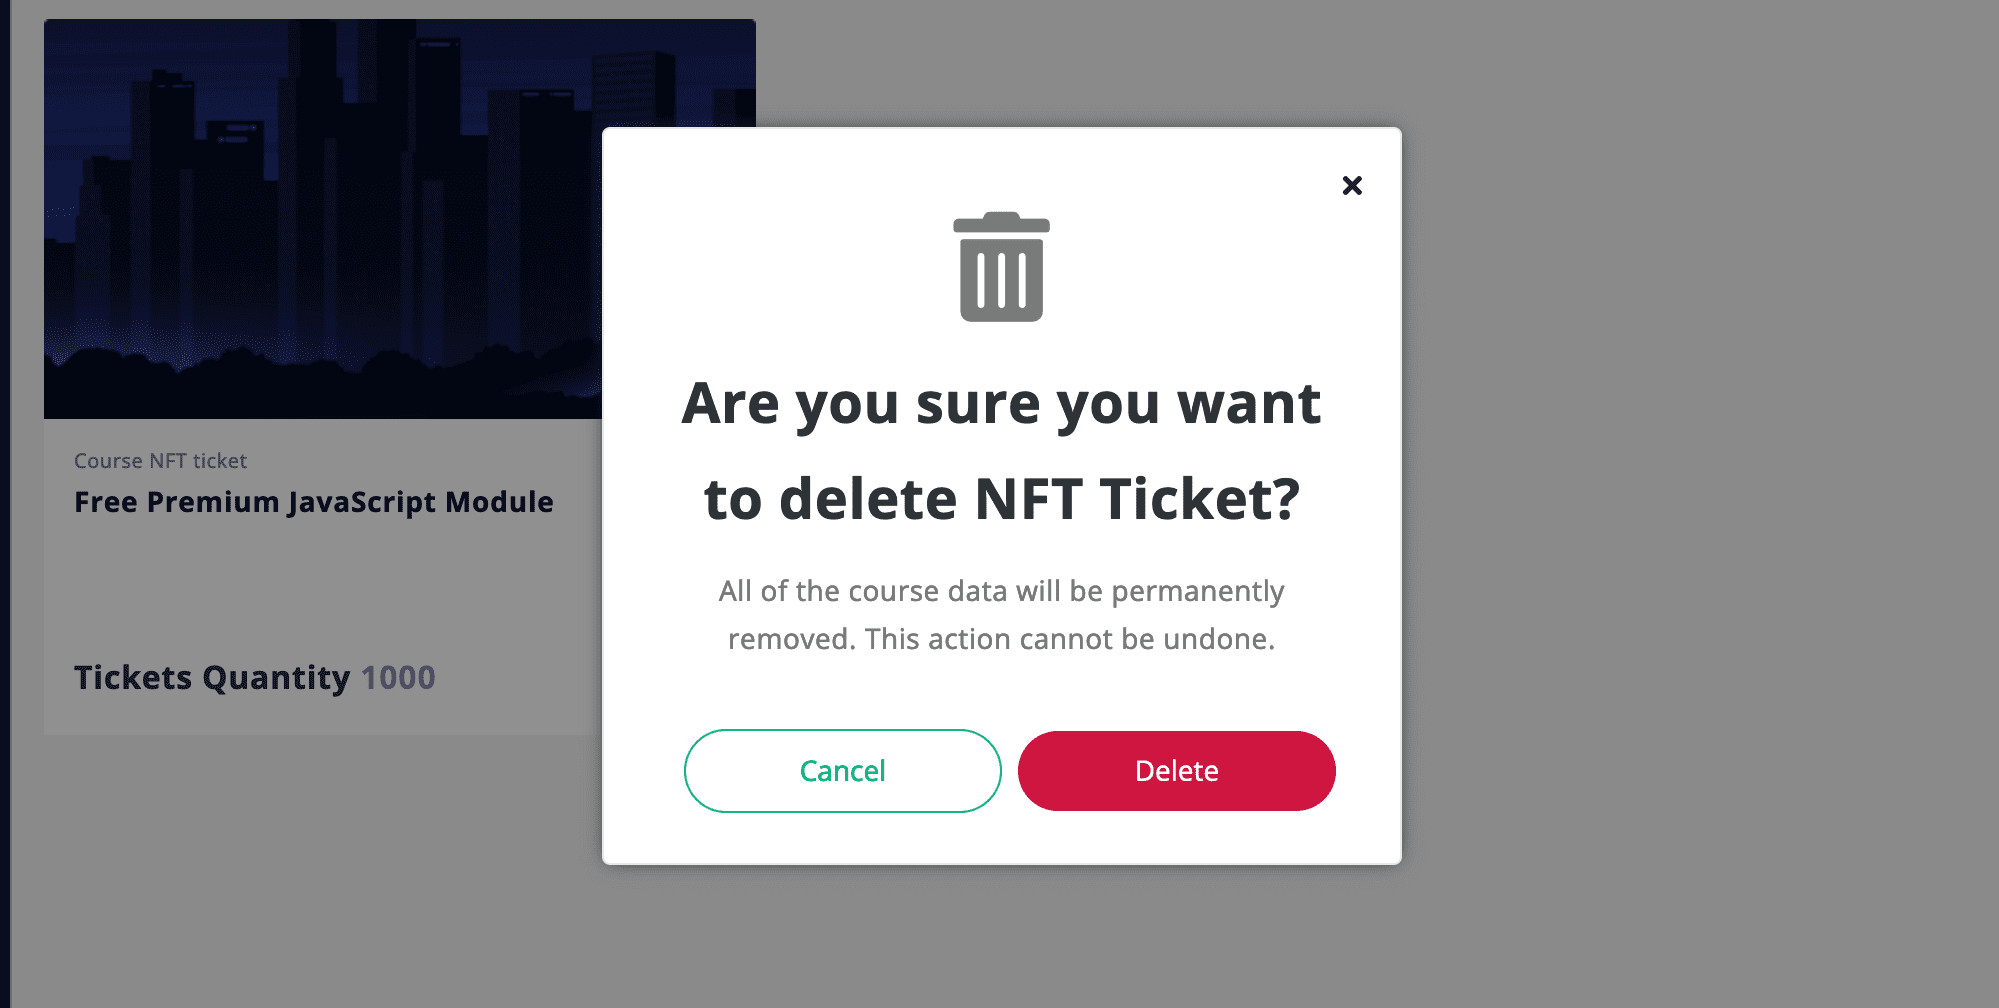
Step 6 (Optional): Delete your NFT Ticket.
If you change your mind or simply don’t want to activate this feature yet, you can delete your NFT Ticket. Just press the bin icon and press the “Delete” button in the pop-up.
And that’s all, congratulations! Now you know how to create and even how to delete an NFT Ticket.
How do NFT Tickets benefit instructors?
As mentioned earlier, NFT Tickets enable an additional payment method for students to take premium or exclusive courses that instructors publish.
By using NFT Tickets, instructors can set a constraint for their premium courses. For example, after course completion, instructors can award their students with NFT Rewards. Then, they can allow only the students who received NFT rewards to enroll in their premium courses.
Besides that, instructors who are also NFT creators can promote their NFT collections by using NFT Tickets. And in exchange, they prove utility by sharing knowledge and material with those who bought an NFT from their collection.